

I am so excited about this new tutorial! It's been in the works for a while. It's a belt from boots!

I have had these boots for about three years and they finally broke on me. 3 years is not bad for $10 boots, right? I should be sad but it actually made me happy because there were so many possibilities. These boots had cute buckles so I had options; should I make a cuff? A belt? A hat? I chose to make a belt out of it.

To start, position your scissor ½ inch away from zipper and cut around it.


Do this for the other boot so you can have two similar pieces like these.

I straightened the edges of the pieces I am going to sew together to make it easier to sew in a straight line.


Now they look about the same size on each side.


Here it is with the two pieces sewn together (sorry, forgot to include a pic of me doing that).

I also decided to top stitch the middle seam so it looks a little cleaner.

 |
| All this time I was seing the belt detail this way |
 |
| Then I turned it around and it made sense! This is the natural shape of the waist! |

I then thought it was too thick and would look even better without the extra bulk on top. I also thought the buckle detail would show off better.

This is what you have left.

I also cut away more of the padding in the back for easy sewing.

Now for the elastic! I found an elastic from a dress that I didn’t wear anymore and I cut it off the dress. However, since the belt was thick, I had to use another elastic. You can buy this kind of thick elastic at most fabric stores.
 If you recycled an elastic from a dress, like me, cut the elastic so you have one strip. Don't worry about measuring now

Place both strips of elastic on top of one side of of belt (belt, right side facing out).

Sew slowly, making sure elastic doesn’t slide while you sew. This was too thick to pin so I just held it tight.


I cut and then sewed on the other side and top stitched.
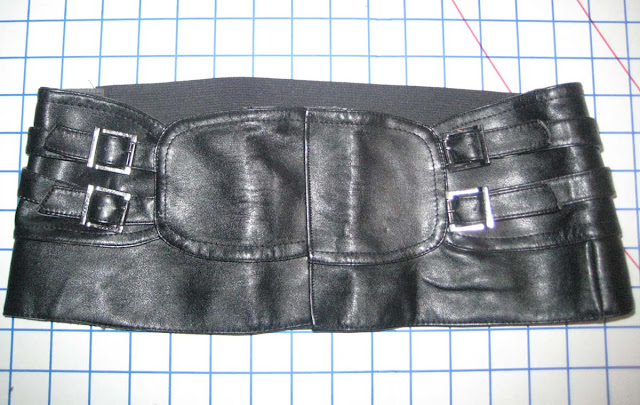

The end result, front and back.

I have to admit, I took the lazy yet difficult way out. I wanted to finish it so bad that I didn’t want to take the time to put in snaps, that is definitely another option. The difficult part is then putting it on over your head. Oh well, at least you have the elastic to help you.
I love the way it came out though!


I would love to hear your thoughts! Also, if you have any questions. Let me know.

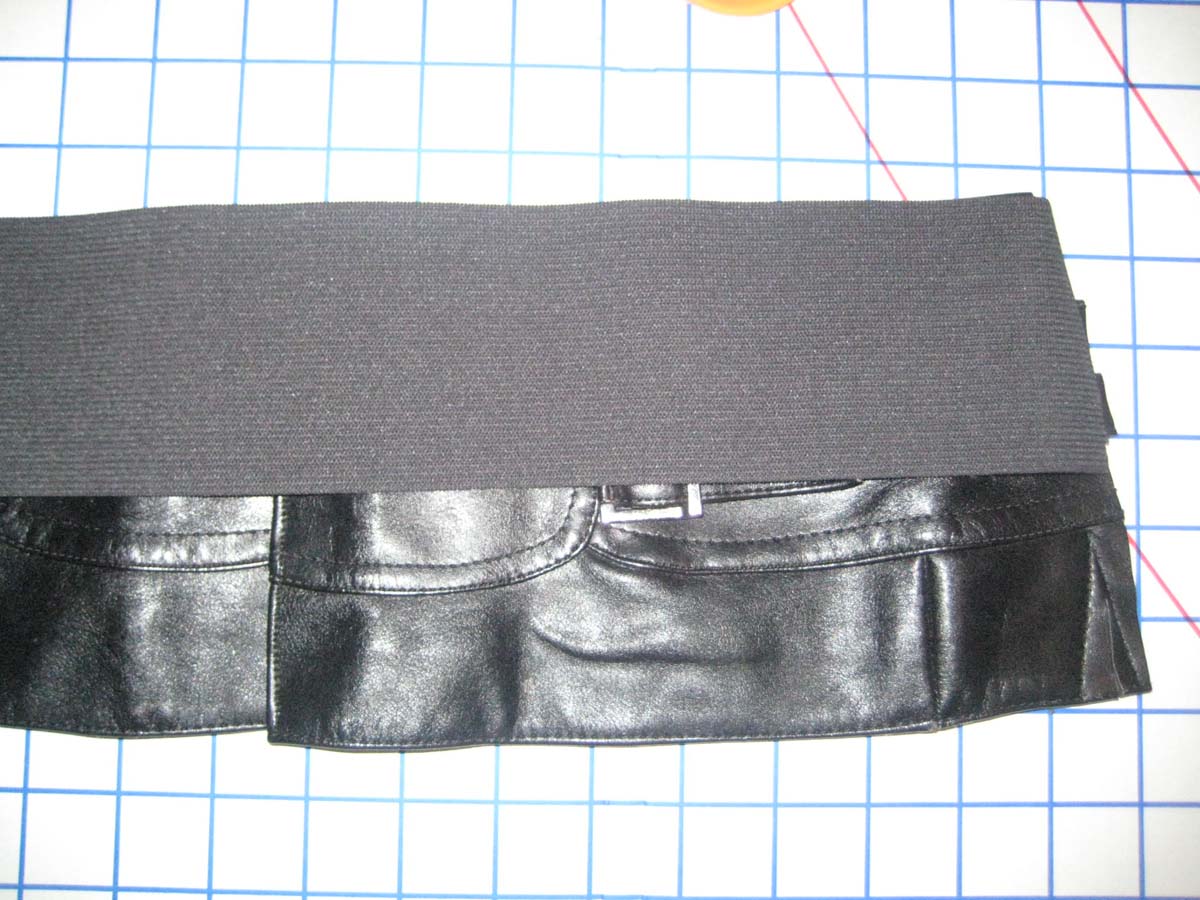


Turn it around and topstitch.

I then put it on my waist and measured to see how much elastic I had to cut off to fit me nicely.


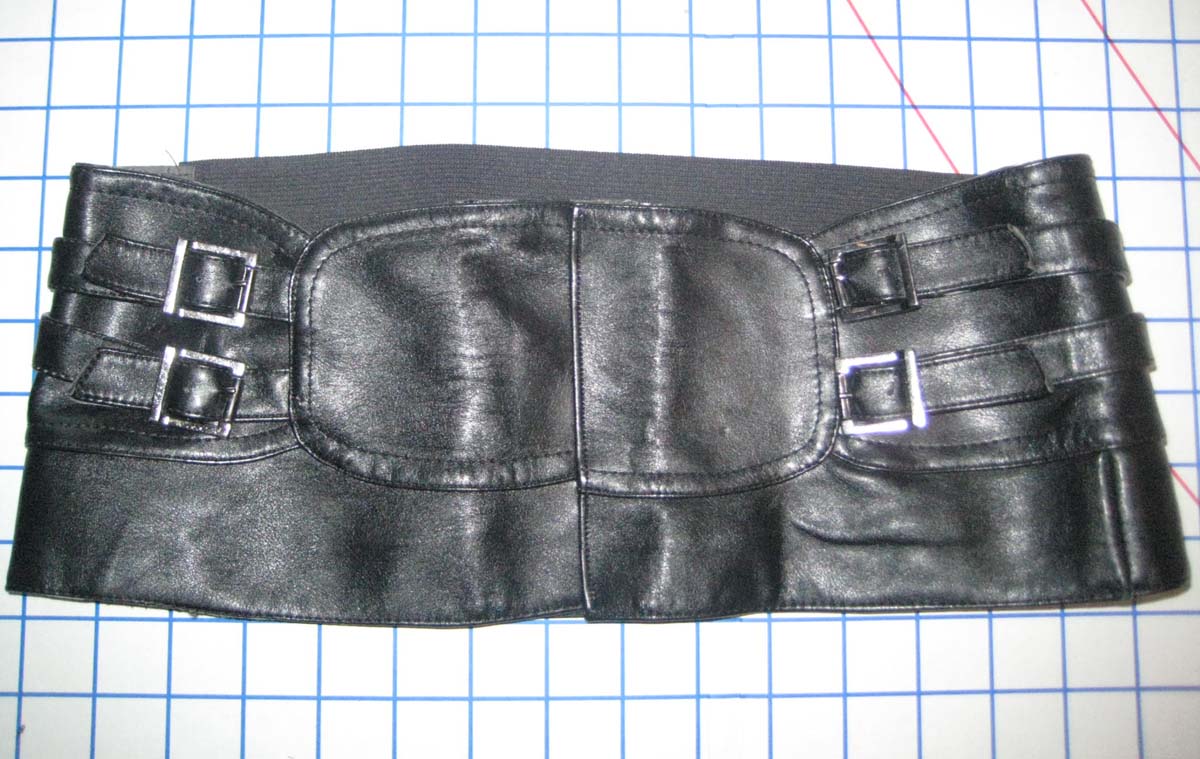

The end result, front and back.

I have to admit, I took the lazy yet difficult way out. I wanted to finish it so bad that I didn’t want to take the time to put in snaps, that is definitely another option. The difficult part is then putting it on over your head. Oh well, at least you have the elastic to help you.
I love the way it came out though!


I would love to hear your thoughts! Also, if you have any questions. Let me know.


