Showing posts with label draping. Show all posts

Friday, August 2, 2013

Draped Jumpsuit

Okay, so here's the draped jumpsuit that I promised to show pics of from this post. I am sorry for the grainy pictures. I need to figure out what I am doing wrong. Any suggestions would be welcomed. 

Anyway, back to the jumpsuit. It's no secret that I like draping and I love jumpsuits. So I decided to put the two together. I like this draped jumpsuit but it definitely needs to be tweaked. First of all: It's a bit too drapey on the sides. I don't need any extra baggage on these Puerto Rican hips, lol. 

I love the top. I again, used recycled neck bands from other t-shirts for the arm hole bands thus the little color play.

Since this has a racer back,  I couldn't pull it up from the bottom without creating an opening so I had to open up the shoulders and sew in snap tape. It has three snaps for a closure on each side. It's a little bulky, thus the big hair to cover it. I need to think about this if I make it again. 

Yes, a bit too much drape for my taste. 

All in all, I would wear this one in public but I want to make another one with my corrections to see how that one comes out. I'm hoping to offer a pattern for this jumpsuit in the future so stay tuned! 


Wednesday, May 15, 2013

Easy Color Block Draped Dress

By now you probably know that I am a big fan of color blocking and draping. This and last week, I have been doing some fabric stash busting. It's the reason why I haven't posted in a while. This project is perfect for getting rid of those fabric scraps. 

I started with this: a red t -shirt with a print that never sold in  the shop, a piece of blue jersey material from when I was selling draped dresses, and a piece of brown jersey fabric from a color block project two years ago. 

I opened one side of the t-shirt and simply serged the pieces all together. You can also sew them, you don't necessarily need a serger. 

I then draped my color blocked fabric on the dress form. I cut here and there, sewed here and there, and this is the result: a color blocked draped dress.  

Another view. I love this organic way of designing. No pattern pieces, no predetermined place where each color will go. Just simply seeing where the fabric falls best. 

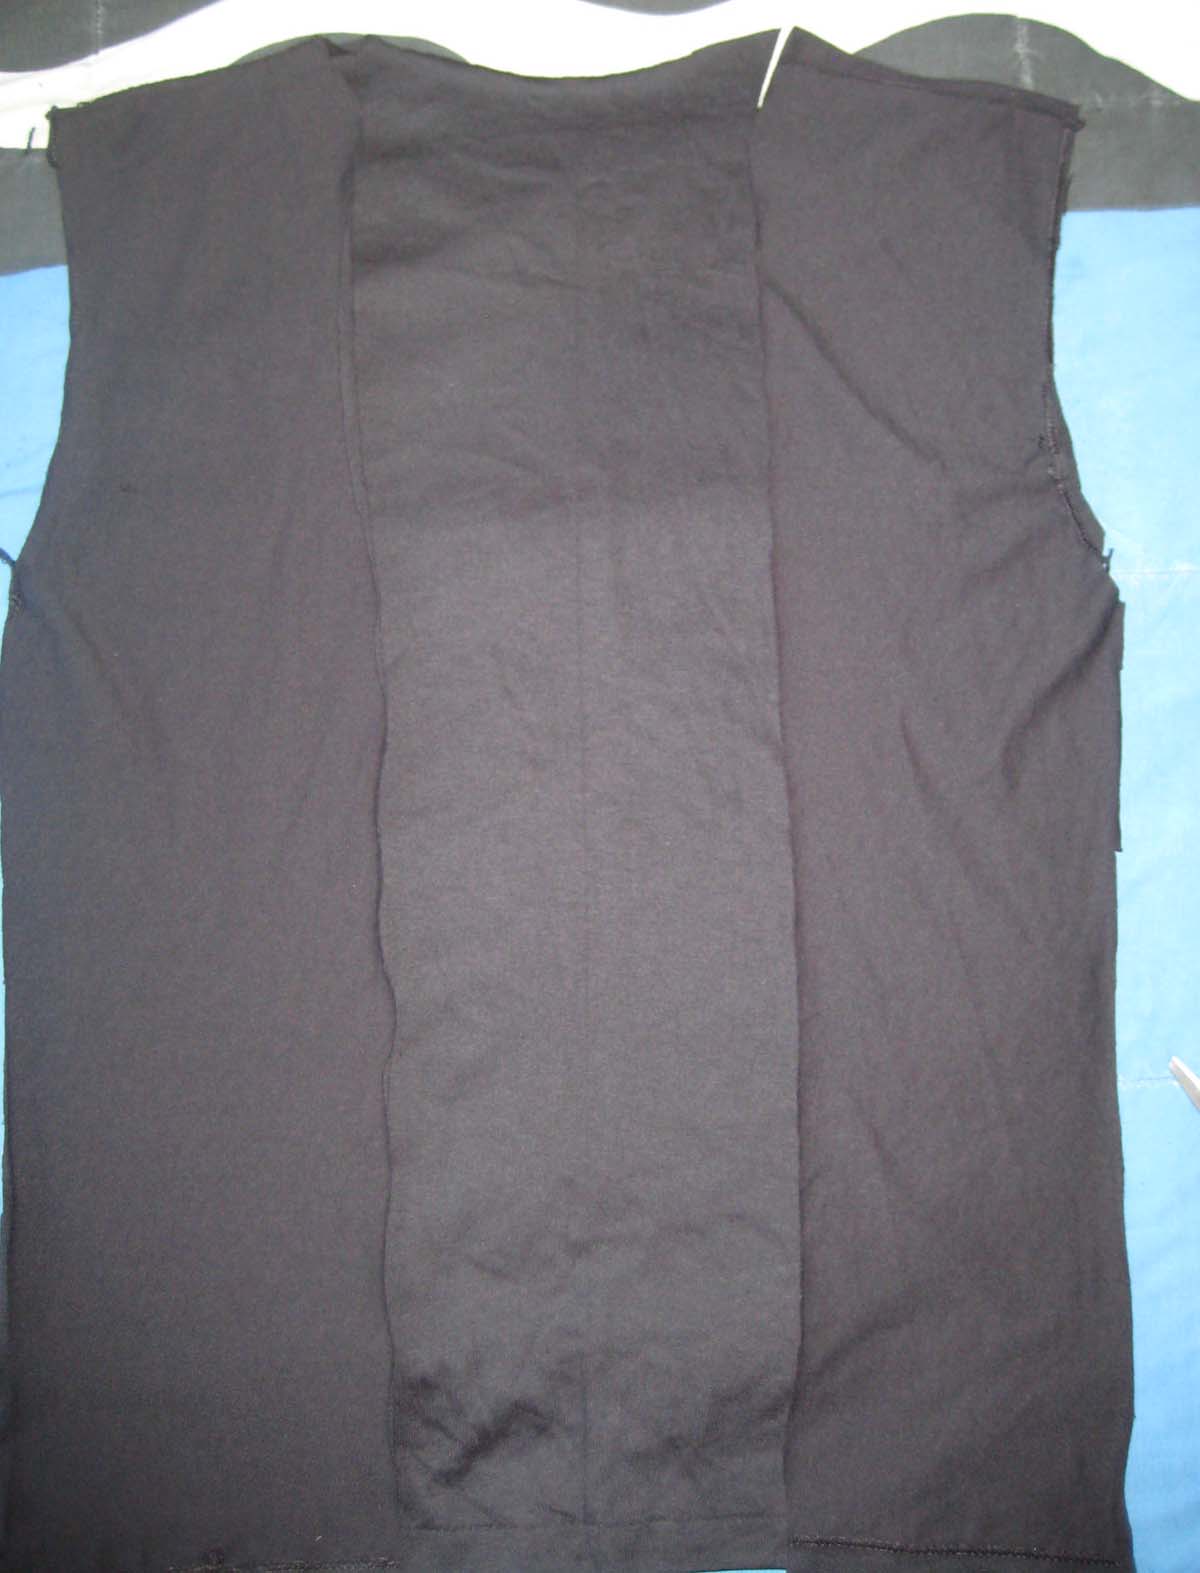
The back view

I apologize for the wrinkly fabric, it definitely looks much better on a person. I promise to iron it and take pictures of me wearing it soon. 

Has anyone else ever worked this way? Just draping on the dress form?

Monday, November 5, 2012

Tutorial: Transform a Small Shirt into a Draped Top


So here is a short tutorial on how I tranformed my too small top into a cute draped top!

Here is what you will need: 1)The shirt you want to make bigger 2) an XL or larger shirt in the same color or different one for a color block effect, 3) scissors, 4) sewing machine or needle and thread (although I have not tried it with the latter). 

 1. Here’s the shirt I wanted to make larger. When I bought it at a thrift shop years ago, it was gigantic and I had to make it smaller. Now it got too small and I have to make it bigger (sigh)


2. So here you have another black X-large t-shirt. I had already cut out the neck line.


3. I start by cutting the side seams and the sleeves off of my Evita shirt.


4. This what I am left with.


5. I cut further to make it look like one long, straight, column


6. I cut the sleeves off the other XL black t shirt.


7. Then I start cutting out the entire middle section


8. Until the entire middle section is all cut out. DO NOT CUT SHOULDER SEAMS.


9. Line up shoulder seams of XL shirt to the shoulder seams of the original shirt. Begin pinning going down.


10. As you pin down, also line up the bottom seam of both shirts and pin. You will definitely have more fabric from the XL shirt that you can begin pleating and pinning. This will make for a nice drape effect.


11. Turn it around to see what it looks like and make adjustments.

12. Now do the same thing to the back.

13. Place it over your head, wrong side out and, on each side, gage where it feels comfortable to start your arm hole seam and pin on each side. If it’s too difficult to do by yourself, have someone pin it for you or pin on a mannequin. Then stitch side seams all the way down.

So here it is! I have a fancy hem sewing machine so I did stitch the neckline and arm holes but you can definitely leave them unfinished as t-shirt material does not unravel.

I  wore this shirt everywhere; baby shower, kids birthday party, brunch with a friend. I just love it!

Here I am with our good friend Radesky at his sister's baby shower. Radesky was about twelve when my husband and I met him. He has turned into a fine young man.


Here I am with my good friend Karen at her son's birthday party. She is a wonderful friend and caring, compassionate public school teacher. And also a natural curly head like me!  
 This shirt is comfy, stylish and makes a statement in image and design. I will definitely make more! So what are you waiting for? Don't frown if your shirts got too small! They will look way better with this draped effect!

Tell me what you think!

Wednesday, October 24, 2012

T-Shirt Reconstruction: Small T-Shirt into Draped T-Shirt:


 I showed you this Evita black t-shirt back in 2008 in this post. It was a giant shirt I had made smaller. 

Well, low and behold, some time has passed since then, and now I have to make it bigger! it simply got too tight on me. I used a simple drape method to add to the sides.

Here it is now:


I love it! I wore it all summer. Tutorial to come next week!